In any content area in Canvas you have the ability to embed images that are located or can be added to the course files section. This tutorial will show you a quick way to embed images to your content area.
Step 1: Navigate to the Content
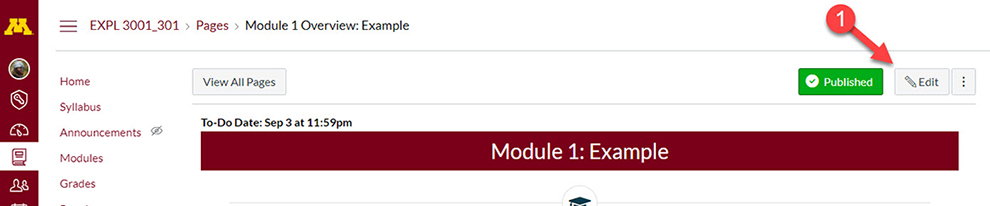
Go to the syllabus, page, assignment, quiz or discussion in which you wish to place your image in. Click on the Edit button on the top-right corner.
Step 2: Beginning the Upload Process
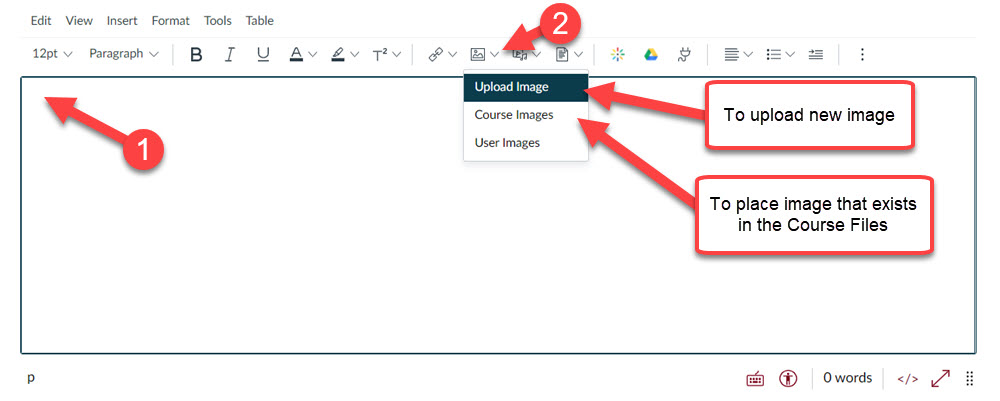
First, in the Rich Content Area, place your cursor at the point where you want your image. It is advised that the image is placed on it's own line since placing the cursor in the same line as another paragraph or other text item will cause oddities in the text formatting.
In the tool bar click on the drop down arrow next to the image icon.
If the image was already uploaded you should choose Course Images. There you can look through the course files and find the image you want to add. Do this to avoid uploading potential duplicates of images. We are going to upload a new image so click on the menu option Upload Image.
Step 3: Selecting and Uploading the Image
Once you click on Upload Image, a pop-up menu will appear.
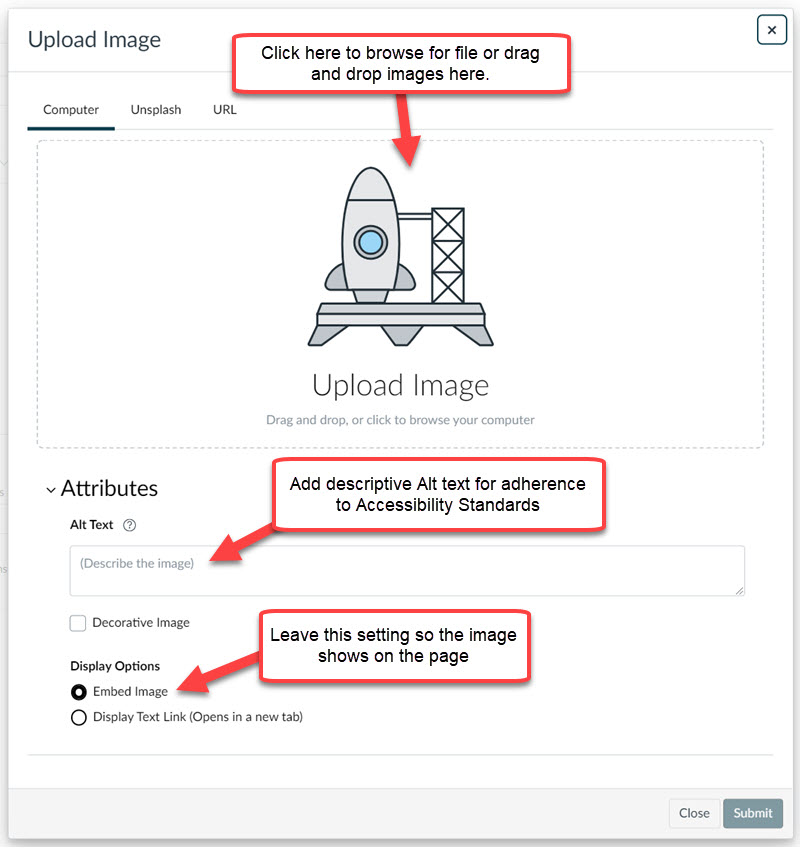
You can either click in the Upload Image box to have the browse window appear so you can navigate to and select the image or you can drag and drop the image in the box.
In the Alt Text field you will want to insert a meaningful description of the image. This step is important for making the image accessible according to Accessible U's standards. For more information on Alt Text please see Accessible U's article on Alternative Text.
Leave the display option as Embed Image so that the image actually appears on the page. Display Text Link will create a link based on the image file's name and students will have to open it by clicking on the link and seeing it in a new tab.
When done, click on the blue Submit button in the bottom right corner of the pop-up menu. Once the Submit button is clicked, the image should appear where the cursor was placed in the rich content editor field.
Adding Existing Images
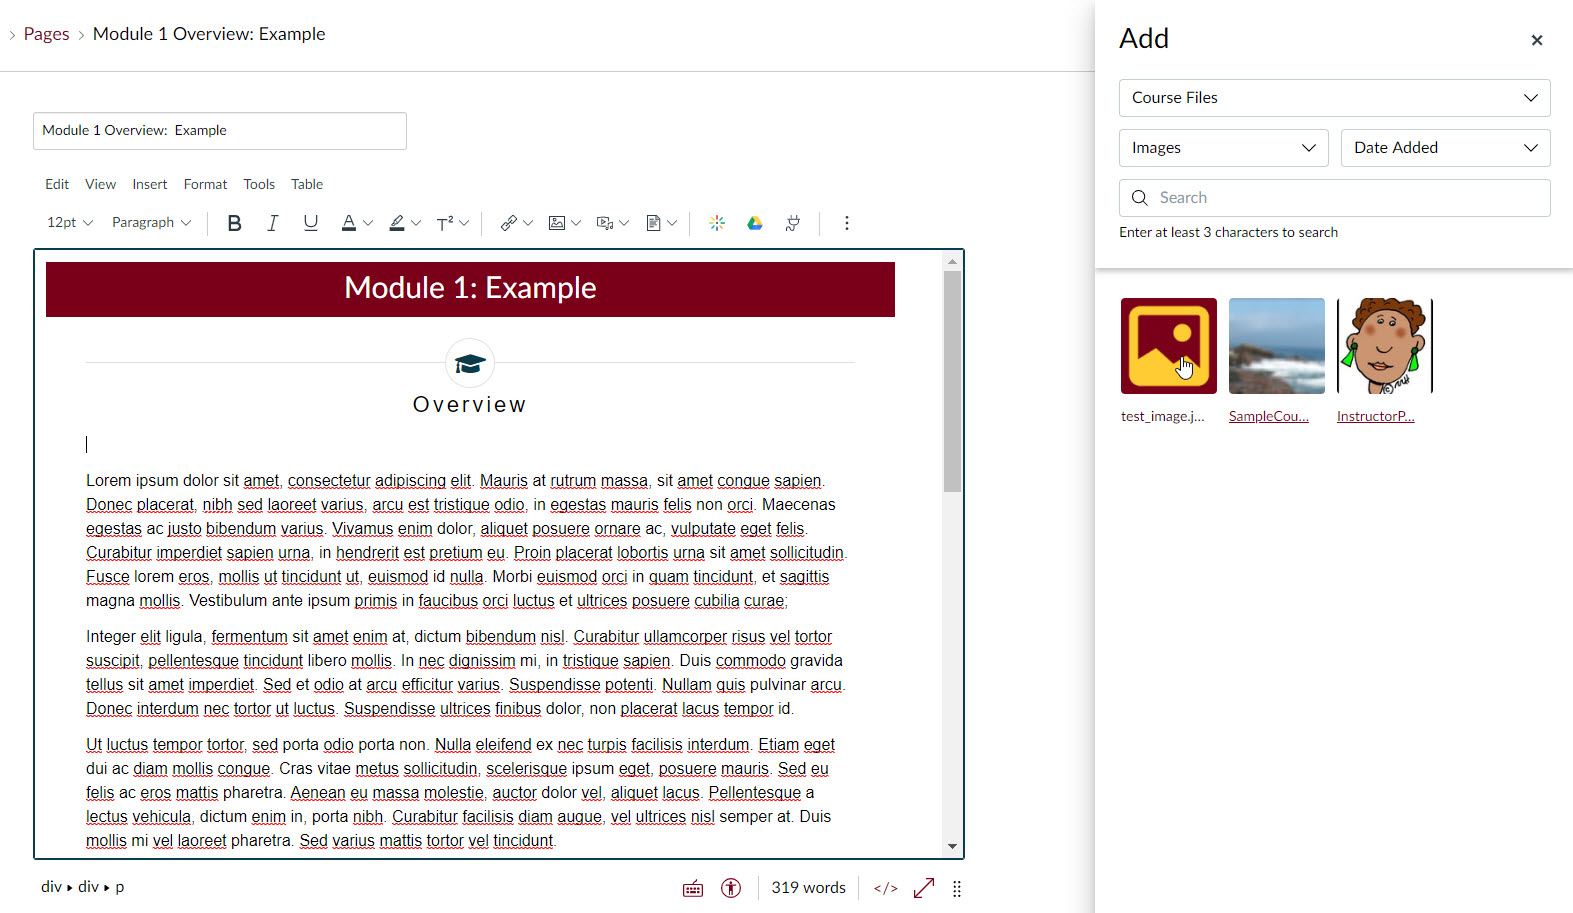
If the image has already uploaded, you should choose Course Images from the Image Menu as shown in Step 2: Beginning the Upload Process above. A menu on the right will appear showing a list of images that exist in the course files. All you need to is click on the image and it will show up embedded in the content area where your text cursor is placed.
Aligning Image and Wrapping Text Step 1
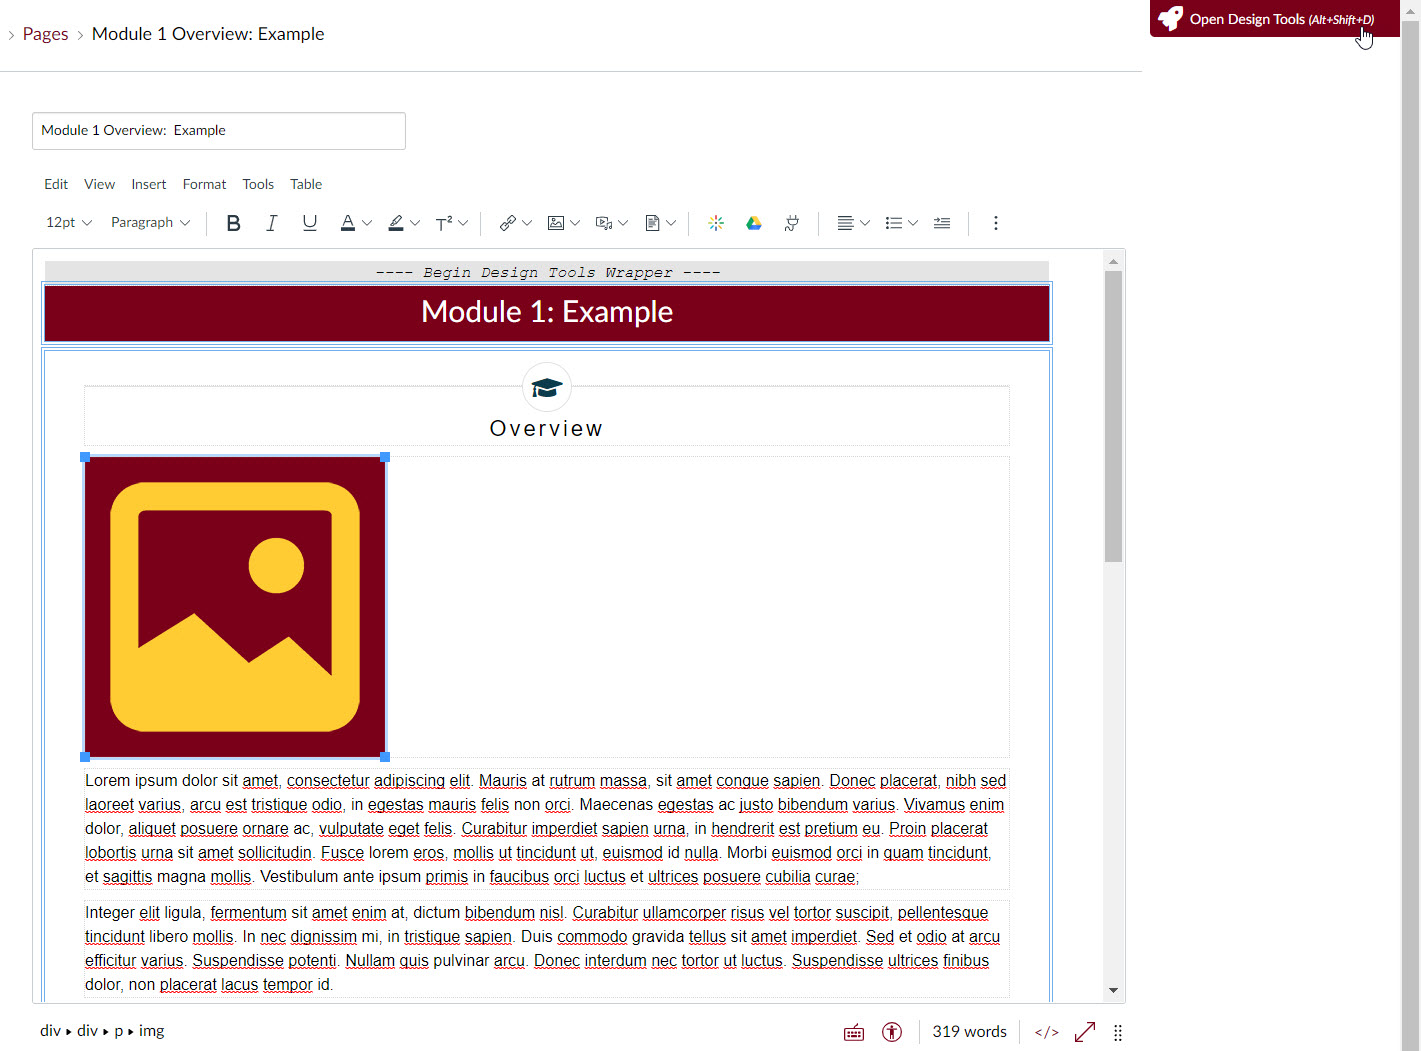
With the image placed you will notice that the text is not wrapping around the image. To make the text wrap around the text you will need to navigate to Design tools by clicking the Open Design Tools rocket navigation bar at the top right of the page.
Aligning Image and Wrapping Text Step 2
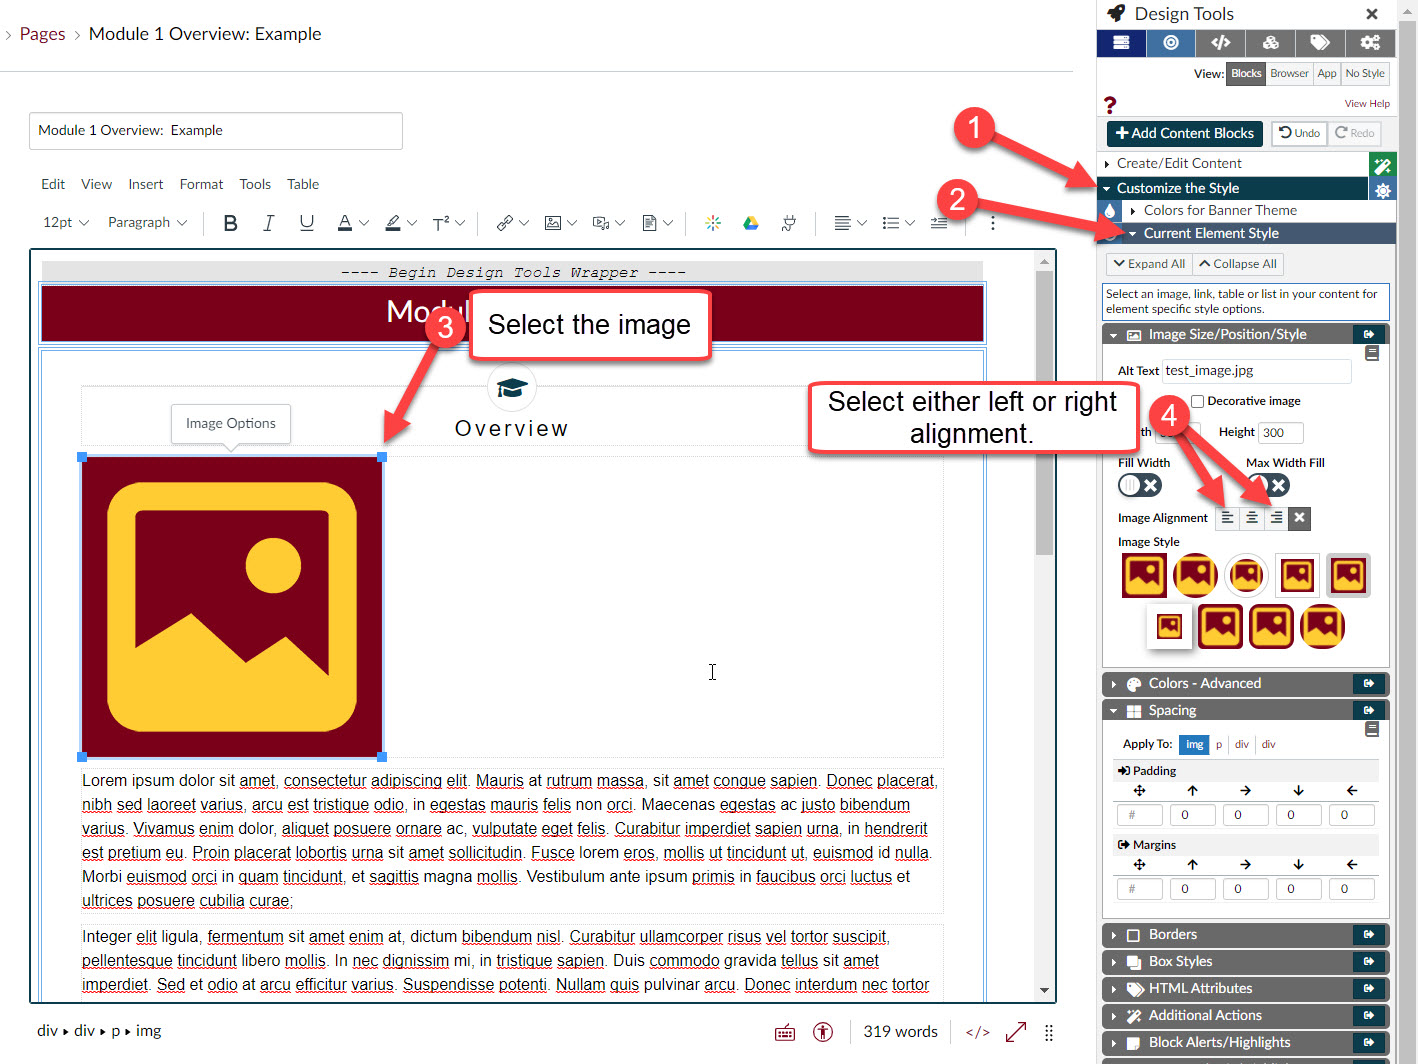
With the Design Tools menu open, select the drop-down menu arrow for Current Element Style then the drop-down menu arrow for Image Size/Position/Style.
You will want to select the image you are wanting to align by clicking on it in the content area. You will know it has been selected when the image shows up in the Image Style area of the Design Tools menu.
Click on either the left or right alignment button located to the right of Image Alignment.
Final Result and Saving
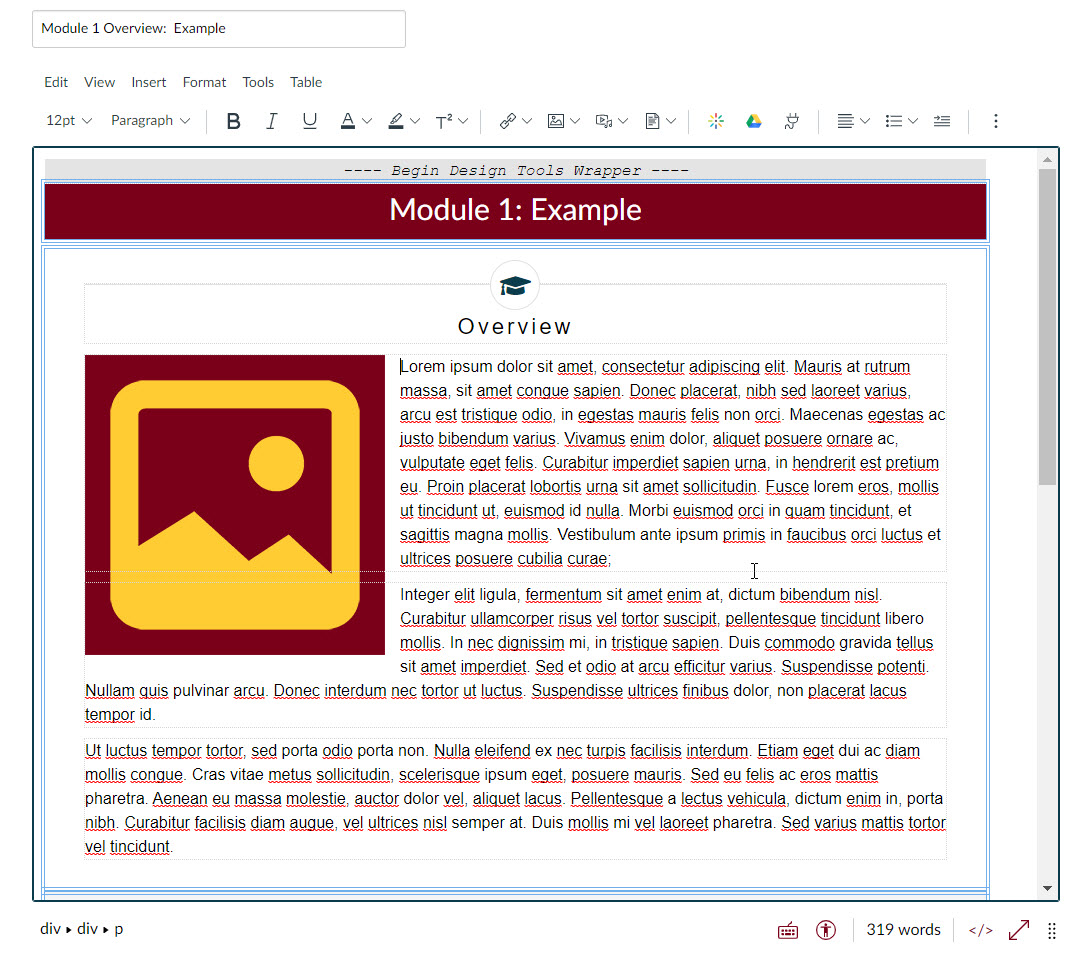
You will now see the image aligned to the left or right as you have chosen and the text wrapped around the image.
When you are done editing you will want to want to click on the blue Save button at the bottom of the page.