When teaching a course, there are times that you may need to make an edit on a module page or syllabus. Maybe you need to add something to an assignment, quiz or discussion instructions. This tutorial will guide you to how to begin making those edits.
Step 1: Navigate to Settings Page
In this example, the images show editing a page. In principle, the way to editing pages, your syllabus or a description for assignments, quizzes and discussions is the same.
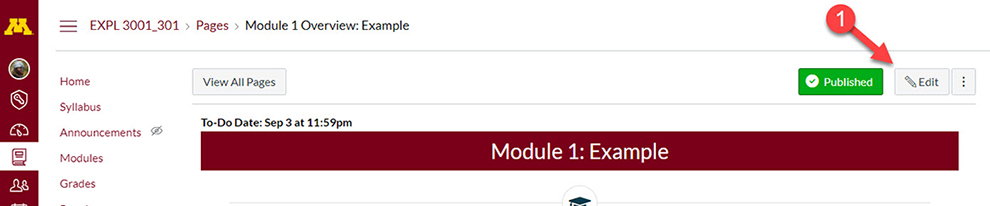
First navigate to the page, syllabus, assignment, quiz or discussion that you wish to edit. Then on the top right corner, click on the Edit button.
Step 2: Making Your Edit
You are now at the settings page for the content you wish to edit. In the image below are marked the various tools that support editing the content for your syllabus, page, assignment, quiz or discussion.
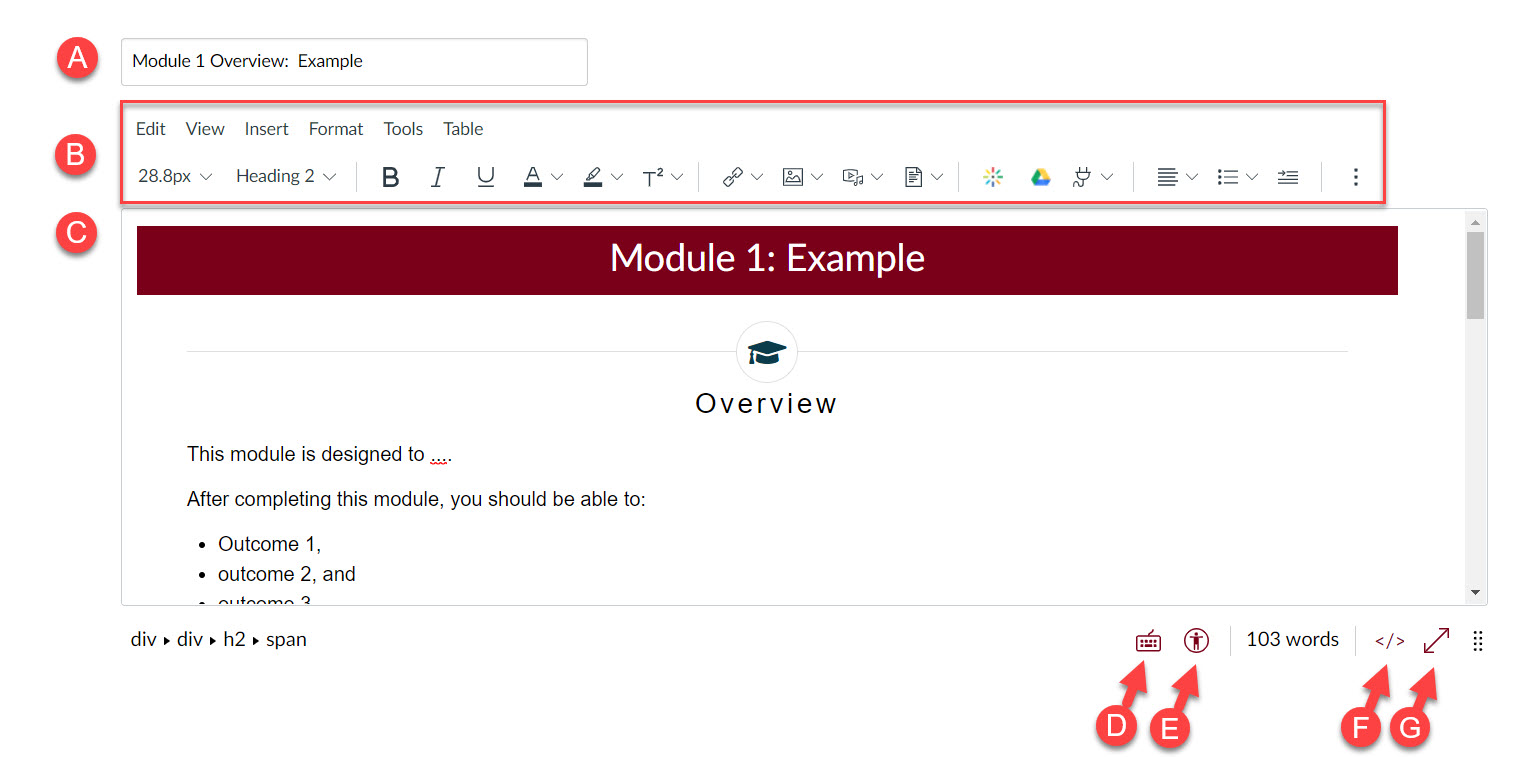
The tools are:
- Title text field: This is what your page, assignment, quiz or discussion will be titled.
- Rich Content Editor Toolbar: This gives tools for formatting text, adding external URLS or Media elements to the Rich Content Editor. More information on pertinent tools below.
- Rich Content Editor Text field: This is where you will make the edits for your content. What you enter is generally what is going to be seen when you save. The field allows you to make edits kind of like you would in Microsoft Word.
- Keyboard Shortcuts: This button shows you a list of the keyboard shortcuts available to you.
- Accessibility Checker: You can read more about using the accessibility checker from the the Canvas Community Pages article How do I use the Accessibility Checker in the New Rich Content Editor as an instructor?
- HTML Viewer: This allows you to see the HTML code for the content in this page. This is meant for advanced users only.
- Full-Screen Button: This will enlarge the editor text field to the entire screen making editing the page more like working in a word processor. You can get out of this mode by clicking on the View menu tab in the toolbar and click on the Fullscreen menu button again to un-toggle the setting.
The Rich Content Editor Toolbar
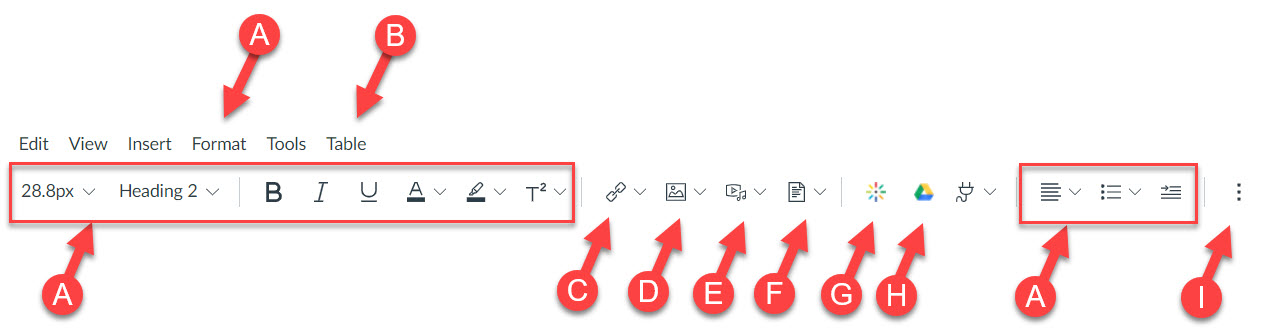
- Text formatting buttons: If you have used a text editor like Word before, many of these features are recognizable such as the bold formatting button, the italic formatting button, etc. By highlighting text in the text field and selecting one of these buttons will allow you to apply the formatting to that section of text.
- Table menu tab: Allows you to create tables as well as access options for editing tables such as adding/subtracting rows or columns or even removing tables. Use tables if necessary for a table, but for accessibility reasons it is not recommended to use tables for formatting or aligning page content.
- Add Link button: This button allows you to add an URL or web link to a section of text that is highlighted. It is suggested to use this for external URLs. For in course content, the Content Selector should be used. When making links please keep in mind that you should not put raw URLs (i.e. http://twin-cities.umn.edu) into pages for accessibility reasons. For more information on how to place external URLs in course content, please see our tutorial on Adding External Links.
- Add image button: This button allows you to add an image at the point of the cursor in the Rich Content Editor.
- Embed Media button: This allows you to embed media that is saved on in the Course Files. For uploading media we recommend using Kaltura and the plugin button instead.
- Add file button: This button adds a link to a file that you can upload to or retrieve from the course file section. You can read more about using the add file button from the the Canvas Community Pages article How do I upload a document in the New Rich Content Editor as an instructor?
- Embed Kaltura Video button: If you are not embedding YouTube videos, this is the best way to upload and embed video content into your course.
- Embed Google Drive document button: You can read more about using the Google Drive button from the the Canvas Community Pages article How do I create a hyperlink or embed a file from Google Drive into the New Rich Content Editor as an instructor?
- Other Menu Options: This button houses other formatting options.
Step 3: Saving Your Changes
Once you have made the changes to the rich content editor you will need to click on Save (or in the Syllabus page Update Syllabus) in the blue button at the bottom.
If you have any more questions or you need assistance with making additions or changes, we welcome CCAPS faculty to reach out out to us for assistance through the CCAPS-ATD Learning Management Assistance form.