In order to maintain FERPA compliance, we recommend creating appointment slots to meet with students using the Appointment Group function in the Canvas Calendar. Follow these steps to create appointments in your course calendar.
Step 1: Get to Calendar Page in Canvas
Click on the Calendar link in Canvas navigation.
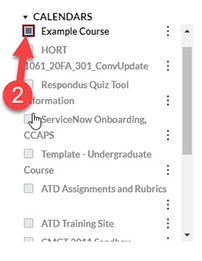
Step 2: Select the Calendar of Your Course
On the right side of the page under Calendars, select the box that is associated with your online course.
Step 3: Create Appointment Group
Click on the calendar day of your appointments. A dialogue box will appear called Edit Event. Choose the Appointment Group tab of this dialogue box.
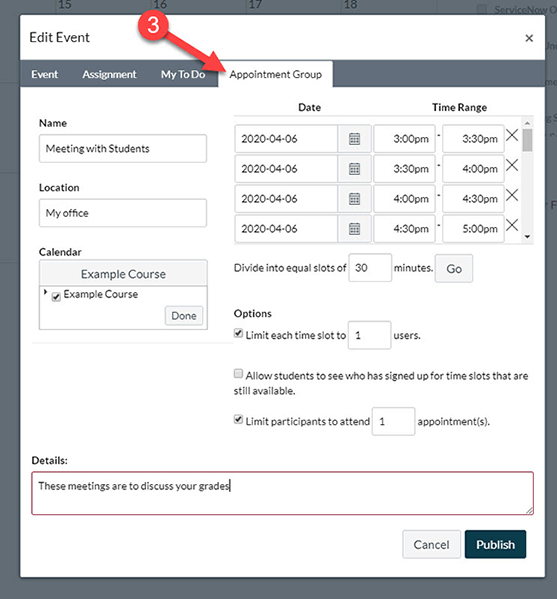
Fill out the appointment group form by giving your appointment slots a name (e.g.: One-on-One Meeting) and selecting a date and time range for your appointments. Once you have chosen a single day/time, the form will automatically create space for another day of appoints. Then set an appointment length.
You may enter a Google Hangouts or Zoom link in the Location textbox for students to meet with you. The options section will allow you to limit the number of users per appointment slot or the number of slots each student can select.
Publish your work. Appointment slots are now visible on the course calendar and students will be able to self-select their appointments.