Step 1: Create the Zoom Meeting from your Canvas site
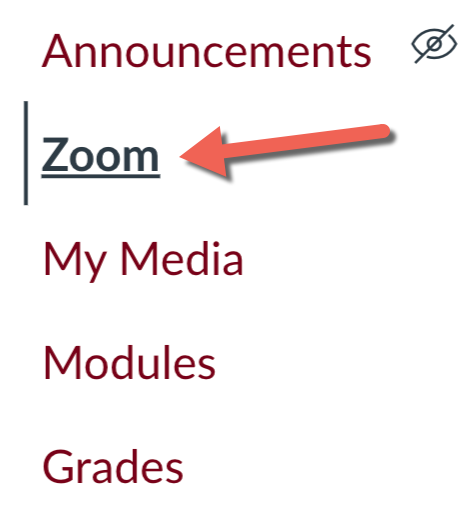
Navigate to your Canvas course site and click on the Zoom link located in your left menu.
Click on the button to Schedule a New Meeting.
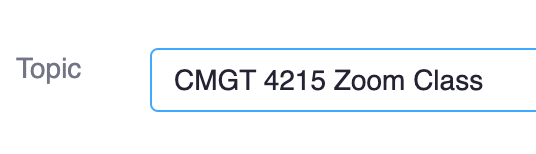
Title your Zoom class session. Keep the title short so that students can see it in their Canvas To-Dos and calendar.
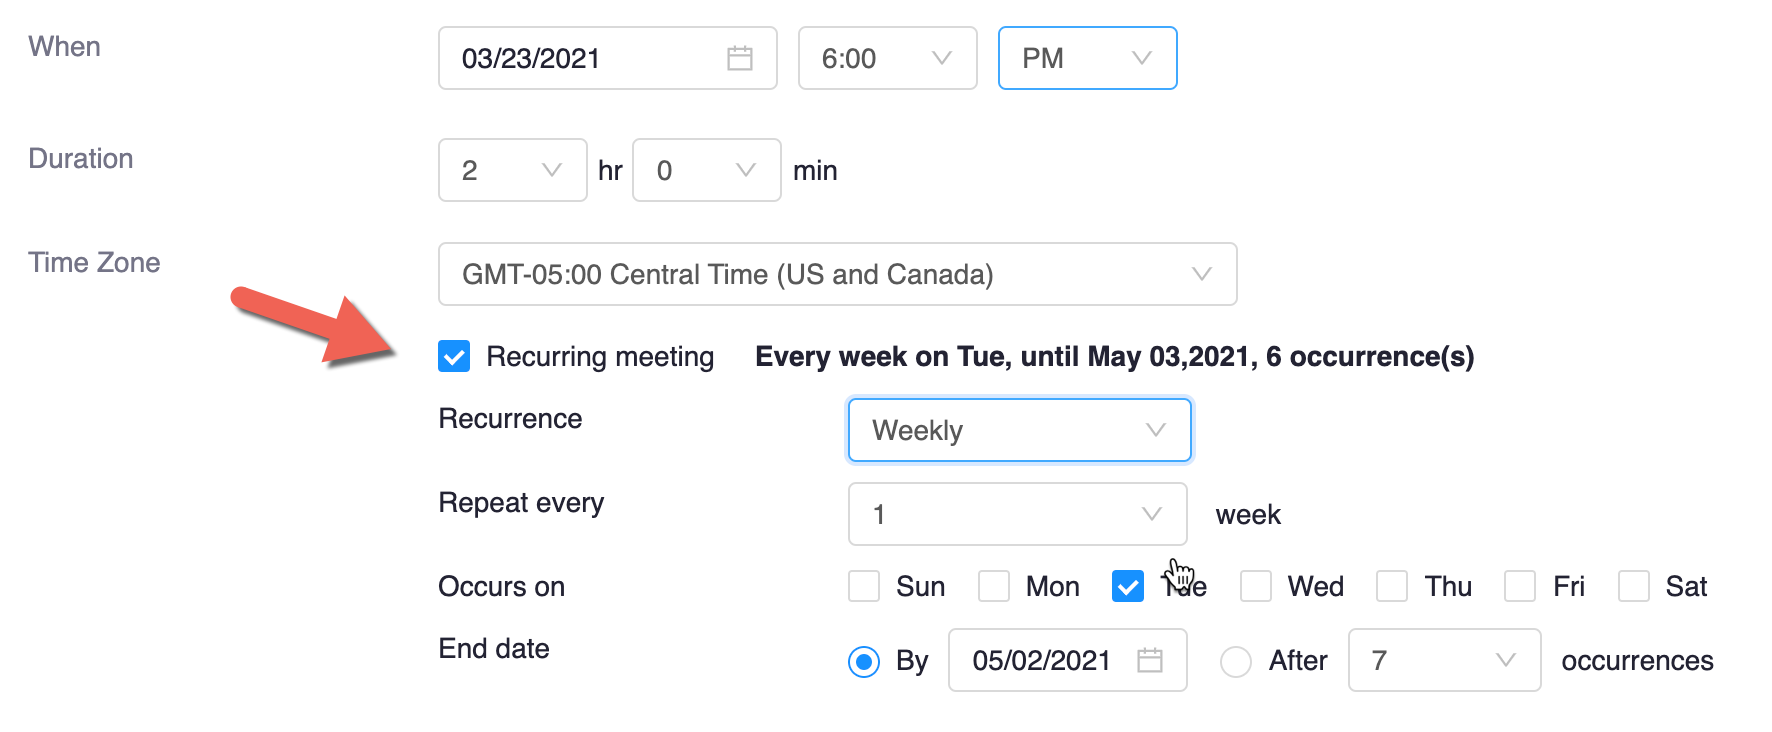
You can set up your class Zoom sessions to recur every week.
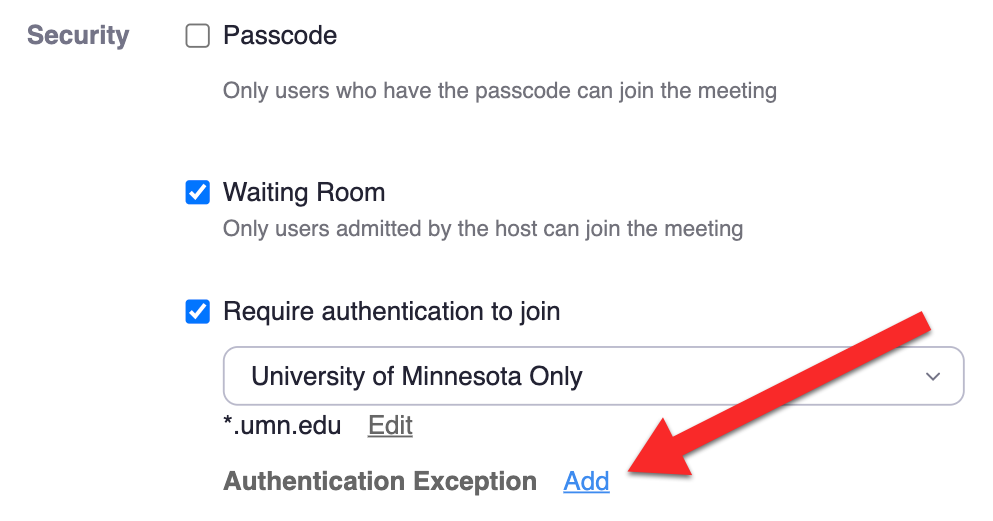
For Security, it's always a good option to choose Waiting Room. With the Waiting room selected, students won't be able to join the Zoom meeting until you admit them in either one at a time or all at once. You can turn off the Waiting room using the Security button and deselecting the option to Enable the Waiting Room.
To ensure that pre-assigned breakout rooms will work, you need to select Require authentication to join and choose University of Minnesota Only. With this option selected, students have to sign in to their UMN Zoom account to join the meeting.
If you want to invite a guest outside of the UMN to your meeting, you can do that. We cover this in Step 2 below.

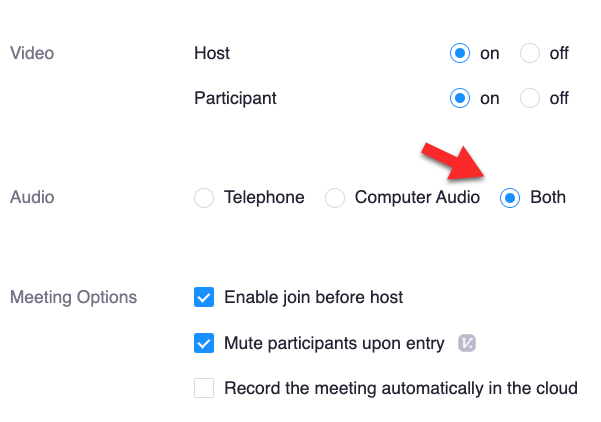
For the Video, Audio, and Meeting Options you can keep the default settings. Make sure that you choose Both for the Audio option. This will give students the option to use their computer speakers and microphone or connect with their phone.
Save the meeting.
Step 2: Create your Pre-Assigned Breakout Room
To enable pre-assigned breakout rooms, you have to navigate to your Zoom settings. Go to Zoom and sign in. Once signed in to your Zoom settings, click on the Meetings button in the left menu.
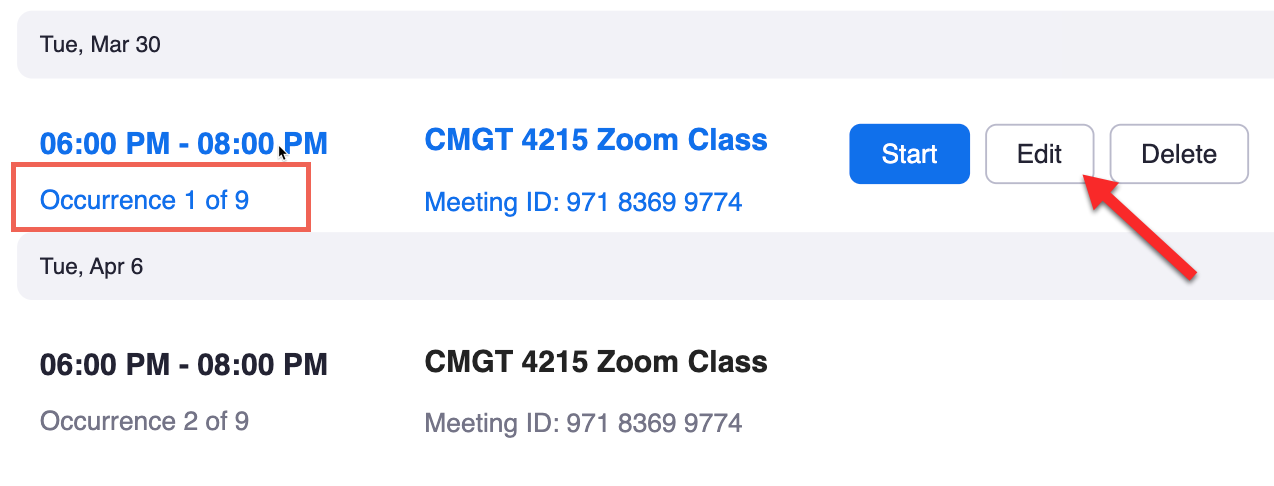
Go to the first recurring Zoom class and select Edit.
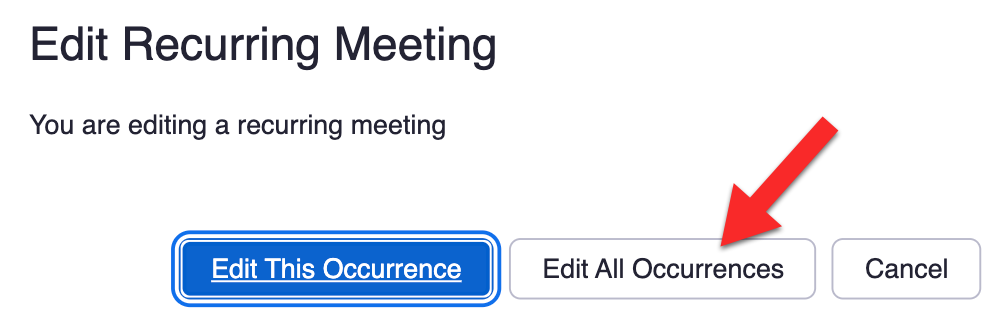
An Edit Recurring Meeting window will open up. Make sure to select Edit All Occurrences.
Note: if you invited a guest to join your Zoom class meeting and they don't have a UMN account, make sure to add their email to the Authentication Exception.
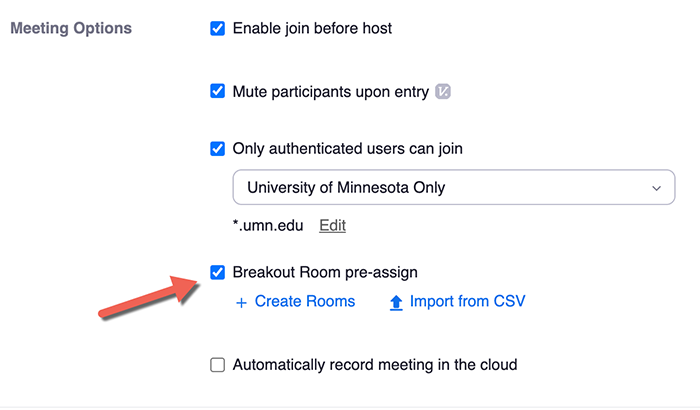
Next, scroll down to Meeting Options and select Breakout Room pre-assign. Click on the Import from CSV option.
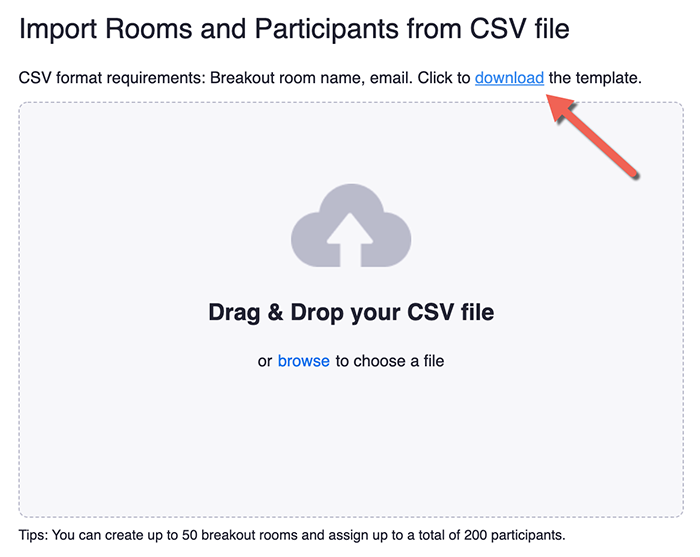
In the Import Rooms and Participants from CSV file window, click on the link to download the csv template file. Edit the .csv file and add your students' emails to the .csv file. After you are finished editing the .csv file, you will upload it to this window.
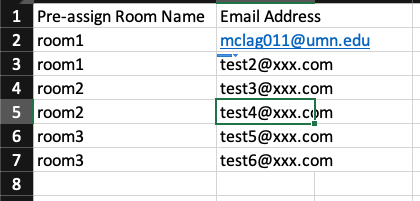
Edit the .csv file and add your students' emails and breakout room numbers.
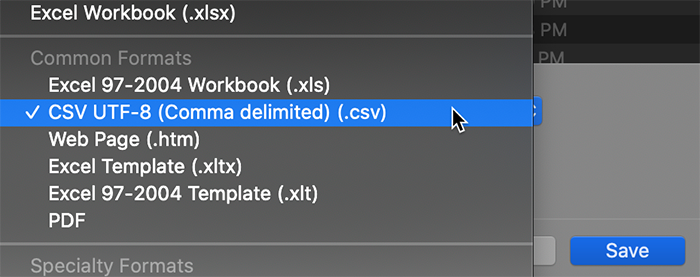
Note: When you edit the .csv template file, make sure to save it as a CSV UTF-8 (Comma Delimited) (.csv) file.
Upload your .csv file to the Import from CSV option in the meeting settings. Save it and Save the meeting settings.
Step 4: Launch the Pre-Assigned Breakout Room
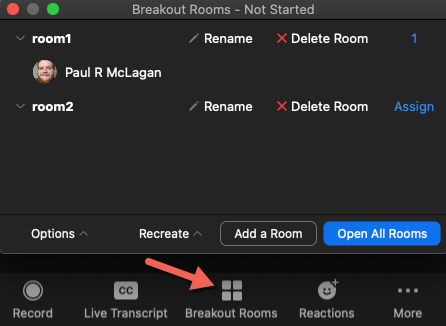
When you start your Zoom class meeting, click on Breakout Rooms and you should see that your students will be added to the rooms that you created in the .csv file.
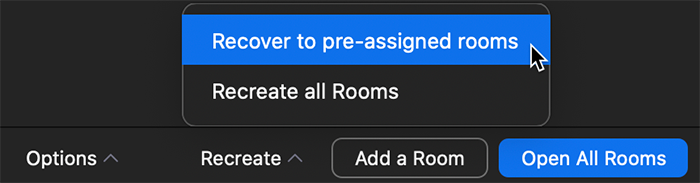
If you want to run the breakout rooms multiple times in your Zoom class, choose the Recreate option and select Recover to pre-assigned rooms.
Since the meeting is set to recurring with No Fixed Time, the pre-assigned breakout rooms should be available any time you start your Zoom meeting.